Manual.ly Logo

Chicco Baby Hug 4 in 1 Navod

0,0 · 0 Hodnocení

PDF manuál · 112 Stránky

čeština

M: GO-GEM-FL-25
stránka

/ 112

Loading...
c2b283e0701ef547d8f033ee65ada21c6ffd page 10
16
17
CLEANING
Clean the plastic parts with a soft damp cloth. Never use
abrasive detergents or solvents. If the highchair comes
into contact with water, dry the metal parts to prevent
the formation of rust.
MAINTENANCE
• This product requires periodical maintenance.
• Cleaning and maintenance operations must only be
carried out by an adult.
• Periodically check the product for broken, damaged or
missing parts: do not use it in this case.
• To avoid friction that may compromise the correct
functioning of the product, ensure that all the moving
plastic parts located along the metal frame are free of
dust, dirt and sand.
• If necessary, lubricate the moving parts with dry sili-
cone lubricant.
• Store the product in a dry place.
COMPONENTS
The product is completely disassembled when pur-
chased; check that all of the components listed below
are present. If any part is missing contact ARTSANA’s
CUSTOMER SERVICES.
The product and all of its components must always be
assembled by an adult.
A - Height adjustable pedestal frame
A1 - 4 wheels with brakes
B - Seat frame
C - Seat structure
D - Tubular seat frame
E - Fabric (with shoulder straps)
F - Booster cushion
G - Toybar
G1 - Light / sound game buttons
G2 - 3 soft toys
I - Upper fabric zips
L - Plastic clips
M - Height adjustment pedal
N - Backrest recline lever
ASSEMBLY
The product is not assembled when purchased. To use
it, carry out the following assembly operations:
1. The rst thing to do is assemble the “A1” wheels on
height adjustable base frame “A”. To do this place the
frame on a rug or soft surface so as not to damage the
oor or frame. Assemble the 4 “A1” wheels inserting
the pins in the 4 holes under height adjustable base
frame “A” as shown in gure 1.
WARNING: Fully insert the wheel pin into the hole in
the base. At this point the base can be rested on the
oor.
2. Insert the fasteners of seat frame “B” into the respec-
tive tubes on seat structure “C” until they click into
place (Fig. 2).
3. Assemble the seat (seat frame “B” + seat structure
“C”) on the base: insert the two tubes on base “A”
into the corresponding holes on seat frame “B” until
they click into place (Fig. 3).
WARNING: The backrest must face the height adjust-
ment pedal (I) as shown in Fig. 3a.
4. Insert tube “D” into the corresponding holes on seat
frame “B” until they click into place (Fig. 4).
5. To assemble fabric “E” line up the holes on the fabric
with the restraint system installed on seat structure
“C”. Pass the two lateral arms of seat frame “B” through
the side fabric holes (FIG. 5), insert the pins of the
arms into the holes on either side of the backrest (FIG.
5a) until they click into place.
WARNING: Check that both arms are assembled cor-
rectly.
6. Attach fabric “E” using the two perimeter zips above
seat frame “B” (Fig. 6).
7. Pass the crotch strap and waist straps on seat struc-
ture “C” through the holes of fabric “E” (Fig. 7-7a-7b-
7c).
8. Attach the fabric (E) to the bottom of seat structure
“C”, making sure to insert all of the plastic clips in the
right slots (Fig. 8-8a).
BOOSTER CUSHION
9. Reducer cushion “F” is ideal from birth and can be
used or removed as necessary. To attach it to the
seat, place it on the fabric, pass the crotch strap and
waste straps through the holes in booster cushion “F”
(reclined cradle mode), (Fig. 9). In highchair mode it
is also necessary to pass the shoulder straps through
the holes of the booster cushion (Fig. 9a).
TOYBAR
10. The toys can be attached to the toybar by passing the
straps through the plastic openings on the bar (Fig.
10) and fastening the velcro.
11. Assemble the toybar (with the light positioned to-
wards backrest recline lever “N”) inserting the pins of
the bar into the holes on seat frame “B” until it clicks
into place (Fig. 11).
12. To incline the toybar in the three possible positions
press the side buttons (Fig. 12).
13. To remove the toybar press the buttons on the inside
of the bar support and pull upwards (Fig. 13).
WARNING: Always check that the toybar is properly
fastened before using it.
WARNING: To prevent possible injury by entaglement,
remove this toy when the child starts trying to get up
on its hands and knees in a crowling position.
HEIGHT ADJUSTMENT
14. Once assembled, the product can be adjusted to
various heights in all congurations. To adjust its
height, hold down height adjustment pedal “M” (Fig.
14) and lift or lower the seat to the desired height.
ADJUSTING THE BACKREST
15. The backrest can be adjusted to four dierent posi-
tions. To do this, push down on backrest recline lever
“N” (Fig. 15).
Position 1 – Crib mode (Fig. 15a)
Position 2-3 – Reclined cradle mode (Fig. 15b)
Position 4 – Highchair and rst chair at the table mode
(Fig. 15c)
These adjustments can also be made with your child
seated in the product. In this case it will be slightly more
dicult.
WARNING: Always check that the backrest is properly
locked before use.
USING THE SAFETY HARNESS
16. With fabric “E” assembled on seat structure “B”, there
will be a crotch strap, two waist straps and two
shoulder straps (Fig. 16).
17. CRIB MODE - WARNING: Completely remove all
safety harnesses making sure to keep them out of
the reach of your child (Fig. 17).
18. RECLINED CRADLE MODE - WARNING: A 3-point
restraint system must be used: crotch strap + waist
straps (Fig. 18).
19. After placing your child in the seat, reclined cradle
mode, fasten the straps by passing the two prongs
through the crotch strap buckle; adjust the waist
straps so that they t closely around your child’s
waist (Fig. 19).
20. HIGHCHAIR AND FIRST SEAT AT THE TABLE
MODE - WARNING: A 5-point restraint system
must be used: crotch strap + waist straps + shoulder
straps (Fig. 20).
WARNING: In this conguration the toybar must al-
ways be positioned behind the backrest.
21. After placing your child in the seat in highchair
mode, fasten the straps by passing the two prongs
through the shoulder strap buckle (Fig. 21) and then
through the crotch strap buckle (Fig. 21a); Adjust the
height of the shoulder straps so that they correctly
t your child’s shoulders.
Always make sure that the straps are fastened correctly.
To unfasten the strap, press and pull the side prongs.
WARNING: When using the product, always fasten the
straps by inserting them in the crotch strap and check
that they are tight enough and properly fastened.
22. The safety harness straps can be removed (for washing
or for use in the crib/reclined cradle conguration).
To remove the harnesses pull the waist and crotch straps
out from the holes in the fabric (Fig. 22-22a-22b) until
they are hidden on the seat frame and pull the shoulder
straps out from the fabric holes on the backrest (Fig. 22c
-22d). After removing the safety harnesses, make sure
that the harnesses are correctly re-assembled.
To re-assemble the safety harnesses, carefully follow the
steps below:
23. Follow point 7 of the ASSEMBLY paragraph to re-
assemble the waist straps and crotch strap. For the
shoulder straps, pass the strap through the hole as
shown in Fig. 23, making sure that the length adjust-
er is positioned as shown in the gure.
Take the plastic hole of the shoulder straps and pass it
through the fabric ring of the harness (Fig. 23a).
Having performed this operation correctly, pull the har-

Komunikujte s vaší příručkou produktu Chicco Baby Hug 4 in 1 pomocí AI

Získejte okamžité odpovědi od AI z vaší příručky produktu Chicco Baby Hug 4 in 1

Zeptejte se na cokoliv ohledně Chicco Baby Hug 4 in 1. Odpovědi pocházejí z tohoto návodu s uvedením zdrojových stránek.

Baby Hug 4 in 1 Plán údržby

Po každém praní
Zkontrolovat látku a švy

Ověřit odolnost látky a švů po každém praní pro zajištění bezpečnosti.

Pravidelně
Kontrola poškození

Pravidelně kontrolujte produkt na prasklé, poškozené nebo chybějící díly a nepoužívejte jej, pokud jsou nalezeny.

Pravidelně
Čistit pohyblivé plastové části

Odstraňte prach, nečistoty a písek z plastových částí klouzajících na kovových trubkách pro prevenci tření.

Podle potřeby
Mazání pohyblivých částí

Při potřebě naneste suchý silikonový mazivo na pohyblivé části pro zajištění správné funkce.

M: QW-35-FL

Položit otázku

0/1000

Doporučujete Baby Hug 4 in 1?

Ano Ne

Často kladené dotazy

A

Lze ji používat od narození v režimu postýlky a polohovací kolébky do 9 kg, poté přibližně od 6 měsíců v režimu jídelní židličky a první židličky až do 36 měsíců a 15 kg.

Je tato odpověď užitečná?

A

Ne. Polohovací kolébka není určena k dlouhodobému spánku. Pokud dítě potřebuje spát déle, je vhodné použít správnou postýlku nebo lůžko.

Je tato odpověď užitečná?

A

Ano. Hrazdičku lze podle potřeby připevnit nebo odstranit. V režimu jídelní židličky musí být z bezpečnostních důvodů vždy umístěna za opěrkou zad.

Je tato odpověď užitečná?

A

Potah se má prát pouze ručně ve studené vodě. Nebělit, nesušit v bubnové sušičce, nežehlete ani nečistit chemicky. Po vyprání zkontrolujte švy a stav látky.

Je tato odpověď užitečná?

A

Ano. Všechna čtyři kolečka musí být při používání zajištěná, aby byla zajištěna stabilita a snížilo se riziko pohybu nebo převrácení.

Je tato odpověď užitečná?

A

Zkontrolujte, že jsou všechny díly správně smontované, zajišťovací mechanismy zapnuté, pás správně nasazený a že žádná součást není zlomená, roztržená nebo chybějící.

Je tato odpověď užitečná?

M: GO-GEM-FL-25

Výhody a Nevýhody

Výhody

  • Design 4 v 1 roste s dítětem od narození do 36 měsíců.
  • Nastavitelná výška a polohovací opěrka zad podporují různé denní rutiny.
  • Odnímatelná hrazdička se světly a zvuky přidává zábavu v raném věku.
  • Pratelné, odnímatelné textilní části a pásy usnadňují čištění a péči.
VS

Nevýhody

  • Změny režimu vyžadují pečlivou montáž dospělou osobou a pravidelné bezpečnostní kontroly.
  • Produkt musí být vždy používán se správným zádržným systémem.
  • Režimy postýlky a polohovací kolébky jsou omezeny na poměrně krátké věkové období.
  • Baterie a pohyblivé části hrazdičky vyžadují pravidelnou údržbu a pozornost.
M: GO-GEM-FL-25

Produkt Specifikace

Hmotnost

10,20 kg

Rozmery (SxVxH)

850x880-1220x600 mm

Vlastnosti

vyskove nastavitelne, preveditelne na jidelni zidlicku, funkce melodie

M: GO-GEM-FL-25

Produkt Popis

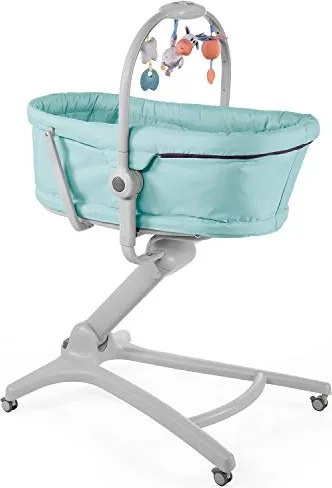
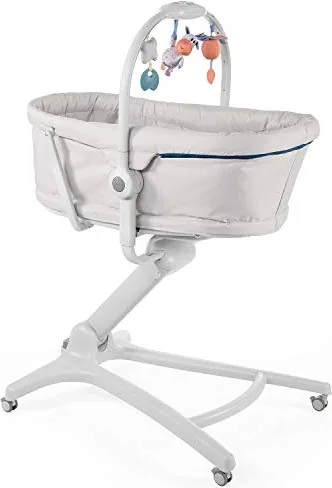
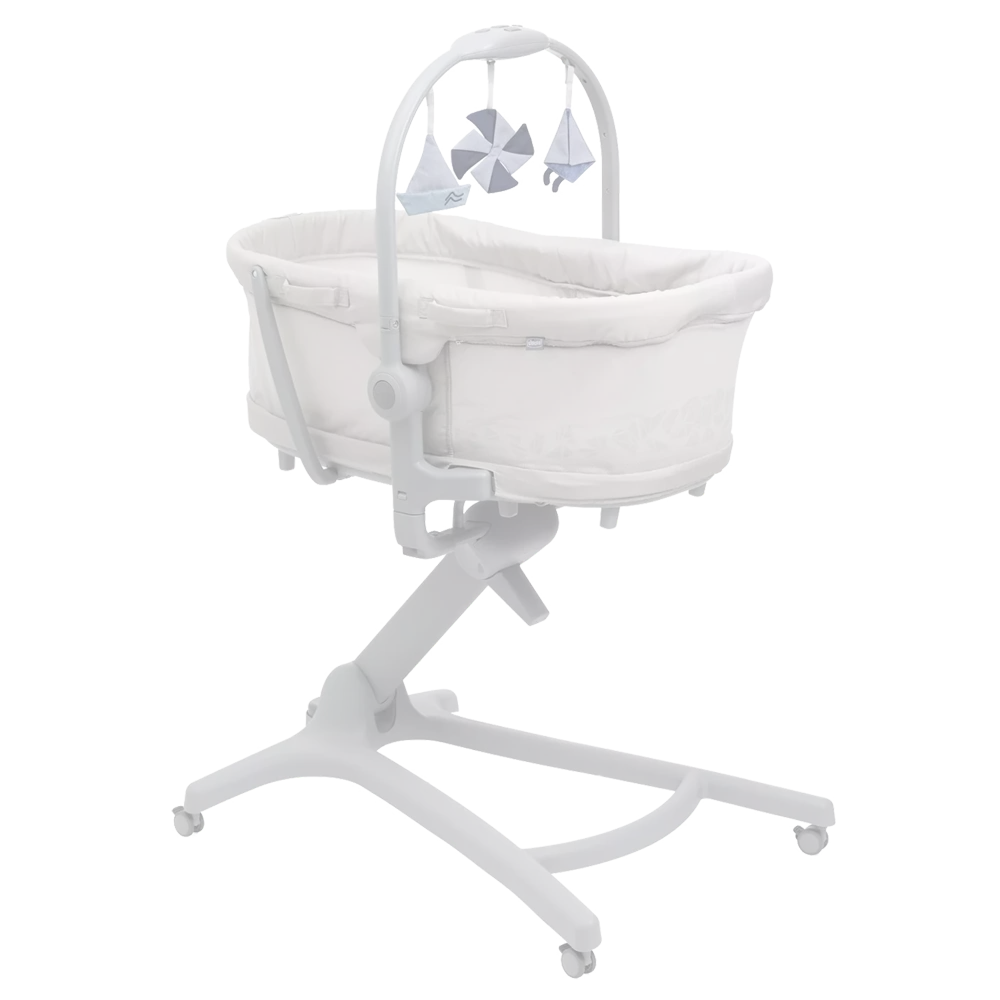
Chicco Baby Hug 4 v 1 kolébka: Jedno chytré sedátko pro první tři roky

Chicco Baby Hug 4 v 1 kolébka vyniká jako všestranný pomocník do dětského pokoje, který dítě provází několika ranými etapami s překvapivou lehkostí. Od prvních dnů doma až po batolecí roky může sloužit jako postýlka, polohovací kolébka, jídelní židlička i první židlička ke stolu. Tato flexibilita ji činí atraktivní pro rodiče, kteří oceňují kompaktní řešení bez ztráty pohodlí nebo praktičnosti.

V režimu postýlky nabízí útulné místo k odpočinku pro novorozence do 9 kg, zatímco nastavení polohovací kolébky poskytuje rodinám pohodlný prostor pro hlídaný odpočinek během prvních měsíců. Později, když dítě umí samostatně sedět, se produkt promění v jídelní židličku a první židličku vhodnou pro jídlo a každodenní rodinné chvíle až do 36 měsíců a 15 kg. Výsledkem je jediný kus dětské výbavy, který se přizpůsobuje měnícím se rutinám místo toho, aby po několika měsících zůstal nevyužitý.

Design se také zaměřuje na pohodlí. Nastavitelný systém výšky pomáhá sladit sedátko s různým uspořádáním nábytku a opěrku zad lze polohovat do několika pozic podle zamýšleného použití. Odnímatelná hrazdička s světly, zvuky a měkkými hračkami přidává zábavný prvek, zejména v ranějších fázích. Pro mnoho rodičů je zde užitečný také návod Chicco Baby Hug 4 v 1, protože vysvětluje, jak bezpečně přecházet mezi režimy a využít každou konfiguraci na maximum.

Další silnou stránkou je každodenní údržba. Odnímatelné textilní části, bezpečnostní pásy a snadno čistitelné povrchy usnadňují používání v domácnosti s rušným provozem. Produkt je navíc navržen s důrazem na stabilitu a dohled, takže pečujícím osobám připomíná, aby zabrzdily kolečka, zkontrolovaly zajišťovací body a používaly správný zádržný systém pro každý režim. Tyto detaily jsou důležité, protože multifunkční produkt by měl působit stejně bezpečně jako prakticky.

Poznámky

  • Nejlépe se hodí pro rodiče, kteří hledají dlouhodobé a prostorově úsporné řešení.
  • Před každou změnou režimu vždy pečlivě postupujte podle pokynů k sestavení.
  • Pravidelná kontrola a správné čištění pomáhají zachovat výkon i vzhled.
  • Hrazdička je zábavná pro mladší miminka, ale měla by být odstraněna, když se dítě začne více pohybovat.
M: GO-GEM-FL-25

© Copyright 2026 Manual.ly